If you're just starting out with web development, you may be learning CSS. CSS positioning is a very powerful tool that allows you to control the layout and placement of elements on your webpage. But it can also be a bit confusing, especially for beginners. In this post, I will cover the basics of CSS positioning and give you some tips and tricks to make it easier to understand and use.

Types of CSS Positioning
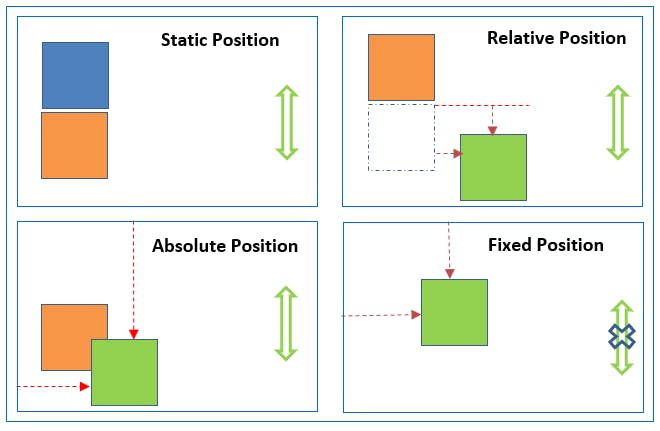
First, let's talk about four different types of CSS positioning: Static Positioning, Relative Positioning, Absolute Positioning, and Fixed Positioning.
Static Positioning: This is the default positioning for all elements. Elements with static positioning are positioned according to the normal flow of the document. This means they will appear in the order in which they are written in the HTML. So, if you try to add top, right, bottom, left, or z-index properties, it will not have any effect.
Relative Positioning: This type of positioning allows you to position an element relative to its normal position in the document flow. If you set top, right, bottom, left, or z-index properties to a relative positioned element, it will cause it to be adjusted away from its normal position. Fun fact: relative position only cares about its original position.
Absolute Positioning: With absolute positioning, you can position an element relative to its nearest position ancestor. If the element does not have any positioned ancestors, it uses the document body. You can use top, right, bottom, and left properties to adjust the position of the element.
Fixed Positioning: This type of positioning is similar to absolute positioning, except the element is positioned relative to the browser window, rather than to its nearest position ancestor. This means that the element will stay in the same position on the screen, even if the user scrolls the page, like the sidebar =====>
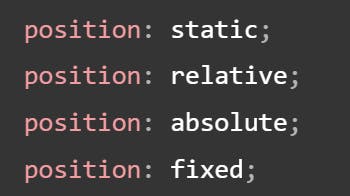
SYNTAX

Tips and Tricks
Use Relative Positioning- If you want to position an element slightly differently than its normal position in the document flow, relative positioning is usually the best option. It's simple to use and doesn't affect the layout of the rest of the page.
Be Careful with Absolute Positioning- Absolute positioning can be tricky to use, especially if you're not familiar with the layout of the rest of the page. Absolute positioning requires the coordinates of the element, such as top, right, bottom, and left properties, as well as a positioned parent. Make sure you understand the relationships between the elements on your page before you start using absolute positioning.
Use Fixed Positioning Sparingly- Fixed positioning can be useful for elements like navigation bars or headers that you want to keep in the same position on the screen, even as the user scrolls. However, it can be annoying for users if too many elements are fixed in place, so use it sparingly.
Use Z-index to Control the Stacking Order- When you have multiple elements positioned on top of each other, you can use the z-index property to control which element appears on top. Elements with a higher z-index value will appear on top of elements with a lower value.
Use Positioning to Create Overlapping Effects- One fun way to use CSS positioning is to create overlapping effects, where elements appear to be layered on top of each other. You can achieve this effect by using absolute positioning and adjusting the top, right, bottom, and left properties.

CSS positioning is a powerful tool for controlling the layout and placement of elements on your web page. By understanding the different types of positioning and following these tips and tricks, you can create dynamic and visually interesting layouts. Happy coding!!!

